!!! My website has
moved: please update your bookmarks to debunix.net !!!
Pain l'Ancienne flatbreads
At the suggestion of a friend, I wanted to demonstrate the process of
making "Pain l'Ancienne", from Philippe Gosselin via Peter Reinhart's
Bread Baker's Apprentice. The basic process is to make a straight
flour/water/yeast/salt dough, knead it, stick it in the fridge
overnight for a long cool rise, remove it, and shape it without
punching it down--trying to preserve the lightness starting from that
cold rising time. I strongly recommend getting hold of the book
and reading all the whys of the recipe, and better yet, reading the
whole book. It's entirely worth it. The photos below
document prepration of one batch of topped flatbreads made using the
Pain l'Ancienne technique.
Of course, as I am an unrepentant wholemeal crank, I make it with whole
wheat, and really don't make an special
concessions to the whole wheat aside from adding a little extra
water. The start of the process, the
milling of the wheat, is shown on my "Bread
from Wheat to Eat" page.
Next, I follow Peter's baker's percentages of about 78%
water (I might be off a bit on that, will check back to verify and
delete this when I do),
2% salt and 0.7% yeast, I scaled the recipe for 500 grams of hard white
wheat flour, with 10 grams of salt, and 3.5 grams of instant yeast in
the food processor. You can, of course, do the whole kneading by
hand, or by mixer, but this is how I do it.

Added 1 2/3 cups water (about 400 grams), gave it a quick whirl in the
food processor (chopping blade, about 20-30 seconds 'on')
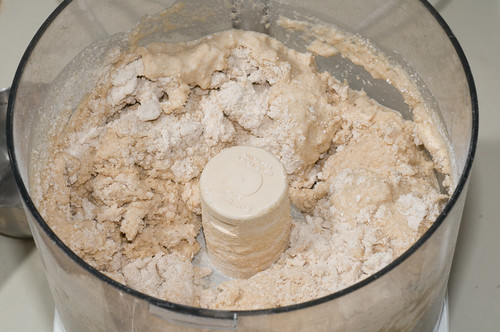
but after giving it a few minutes to let the flour hydrate, it was
still quite firm,
so I added a little more water, slowly, through the drop hole, as it
was in motion, in quick pulses, until the texture looked softer (about
another quarter cup)
[
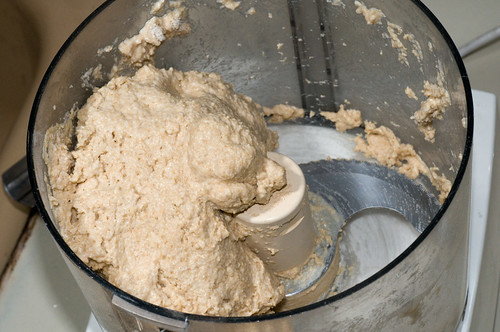
let it sit another few minutes to finish hydrating (some gluten
development is happening during this time, and the long hydration seems
to benefit the whole wheat especially), and you can see how the soft
dough has sagged a bit but not collapsed all over the bottom of the
processor bowl
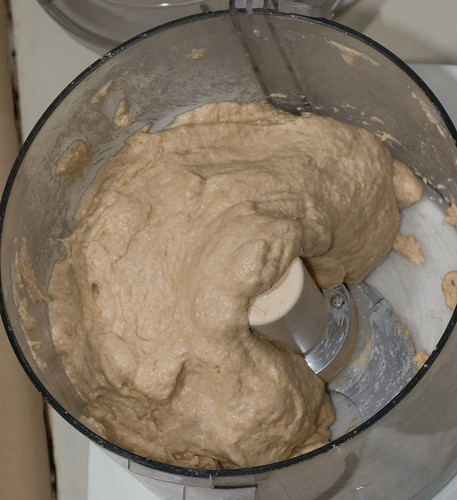
then another quick whirl to complete the kneading: the dough has
mostly cleaned up the sides of the bowl

dump out on floured work surface
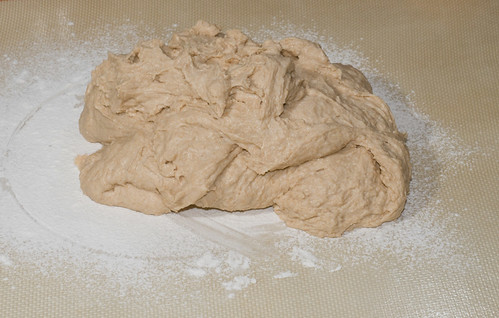
push it around a couple of turns to develop a nice skin (showing here
the lumpy underside, which will be the bottom when I turn it into the
bowl for rising)

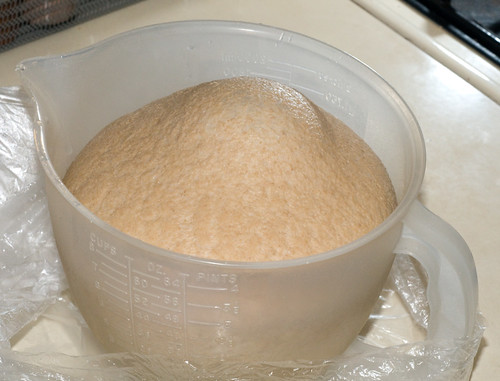
flip it over into my trusty measuring pitcher (love my Tupperware
pitchers!)
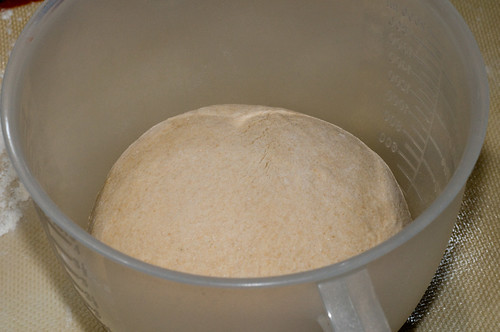
see how pretty that surface is?
And it fills the pitcher to about the 20 ounce line

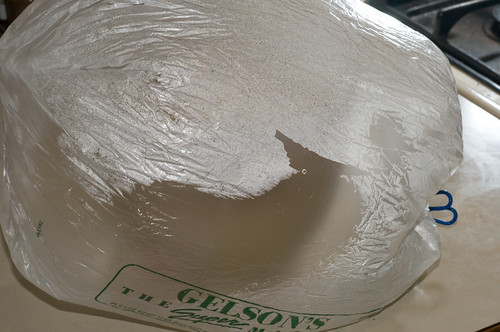
Then put the pitcher in a plastic produce bag, and, keeping as much air
in as you can, use a bag clip or twist tie to 'seal' the air in (it
can't be completely air tight or gas from the yeast will rupture the
bag; but you want enough air in the bag to keep the plastic from
collapsing onto and sticking to the dough as it rises).

Then off to the refrigerator overnight....and in the morning, it's all
misty and damp inside the plastic, which is still holding enough air to
stay off the dough surface....
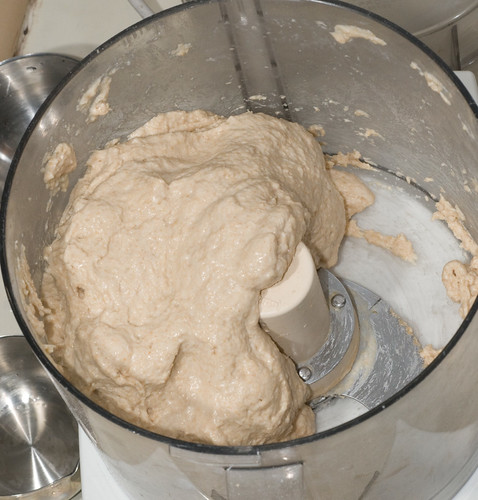
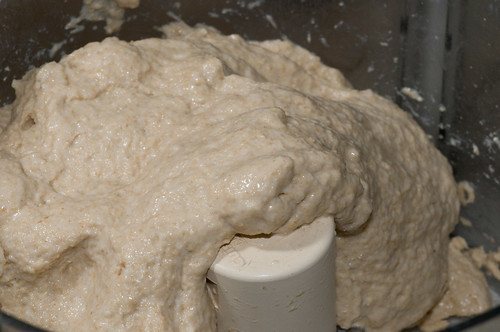
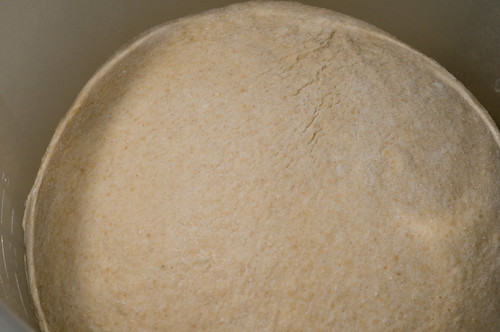
And inside the bag the dough has risen well, and still has a nice soft
surface because the bag held the moisture in well. It's now at
about the 48 ounce line
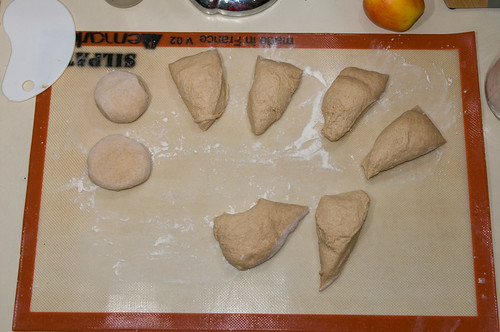
And here there's a bit of a gap because I couldn't both gently remove
the dough from the bowl and photograph it at the same time, because it
must be removed gently to avoid degassing it. The dough was
gently rolled out onto the floured surface, lightly coaxed into a
circle, and cut into wedges with the bowl scraper. Here you can
see that I've already rounded a couple of them (gently!) into balls.
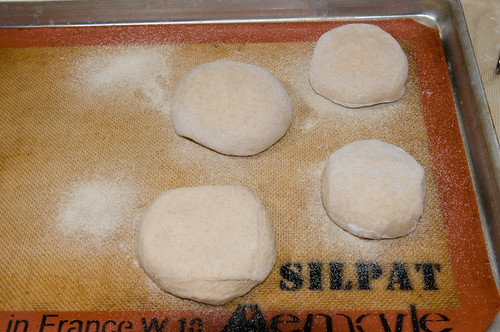
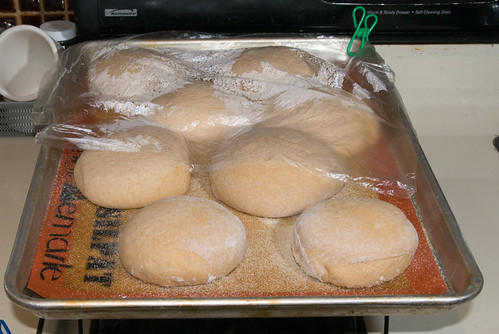
I put the balls of dough onto a sheet well floured with semolina to
keep them from sticking, as this is what they'll rise on, before
the final shaping, and I need to remove them again intact.
That same produce bag, cut open into a sheet, covers the pan nicely to
keep them moist while rising.

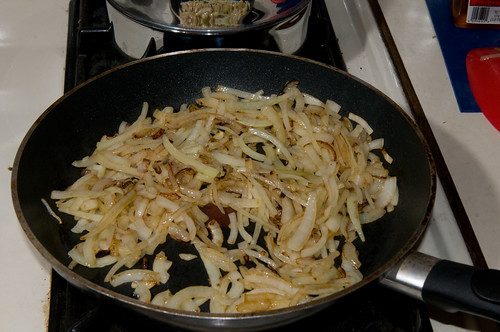
While they were rising, I sliced up and sauteed some onions
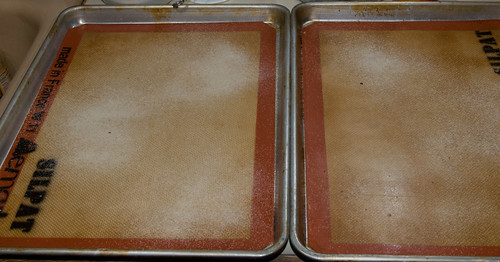
And again prepared some baking sheets with semolina where each
flatbread will bake.
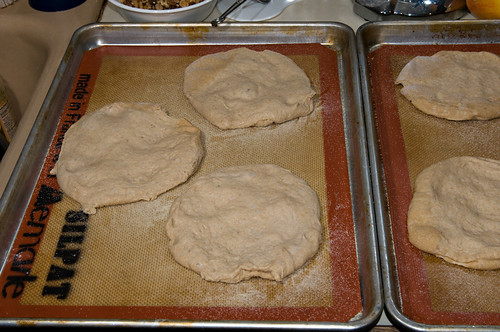
Risen and ready for pulling into pizza shape: unfortunately I was
a little careless with the rising, and they got a bit hard/dry from
being too close to the preheating oven with range hood fan on as they
rose, although their risen volume was very good:
After gentle tugging and patting and persuading, this is what they look
like before topping. Not so pretty, but they'll be tasty anyway.
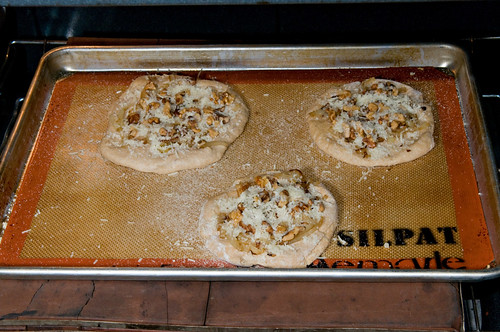
Topped with the onions, some toasted walnuts, grated cheese, and given
a spritz of olive oil, they're put in the oven--the bricks are about
500°F after a long preheat. In theory, if I were really
coordinated, I'd be able to pick them back up off this and set them
directly to my bricks with a peel, but in practice I was lazy this
evening. So they're baking on the pan on the bricks.
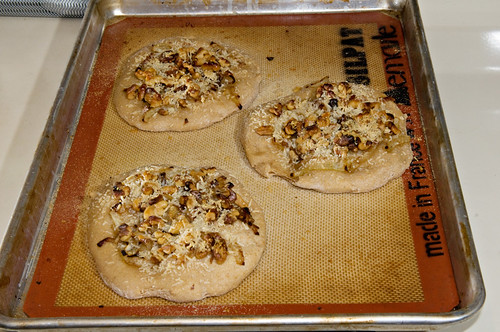
And about 8 minutes later....
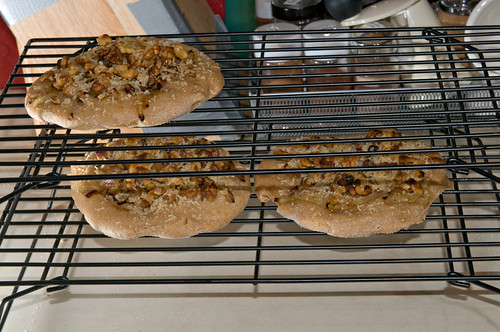
On the racks to cool
Inside view
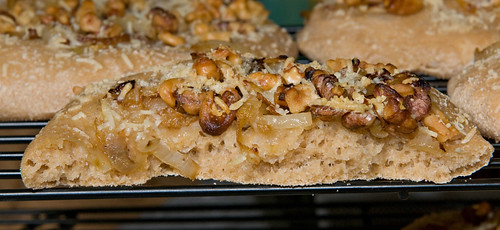
And very tasty.
Will repeat with the baguettes another day.
Return
to
Recipe
Index
Return
to
Diane's
Food Page
Return to Diane's Home Page